OpenWeb UI with LiteLLM
This guide walks you through connecting OpenWeb UI to LiteLLM. Using LiteLLM with OpenWeb UI allows teams to
- Access 100+ LLMs on OpenWeb UI
- Track Spend / Usage, Set Budget Limits
- Send Request/Response Logs to logging destinations like langfuse, s3, gcs buckets, etc.
- Set access controls eg. Team 1 can only access gpt-4o, Team 2 can only access o1-preview
Quickstart
- Make sure to setup LiteLLM with the LiteLLM Getting Started Guide
1. Connect OpenWeb UI to LiteLLM
- OpenWebUI starts running on http://localhost:3000
- LiteLLM starts running on http://localhost:4000
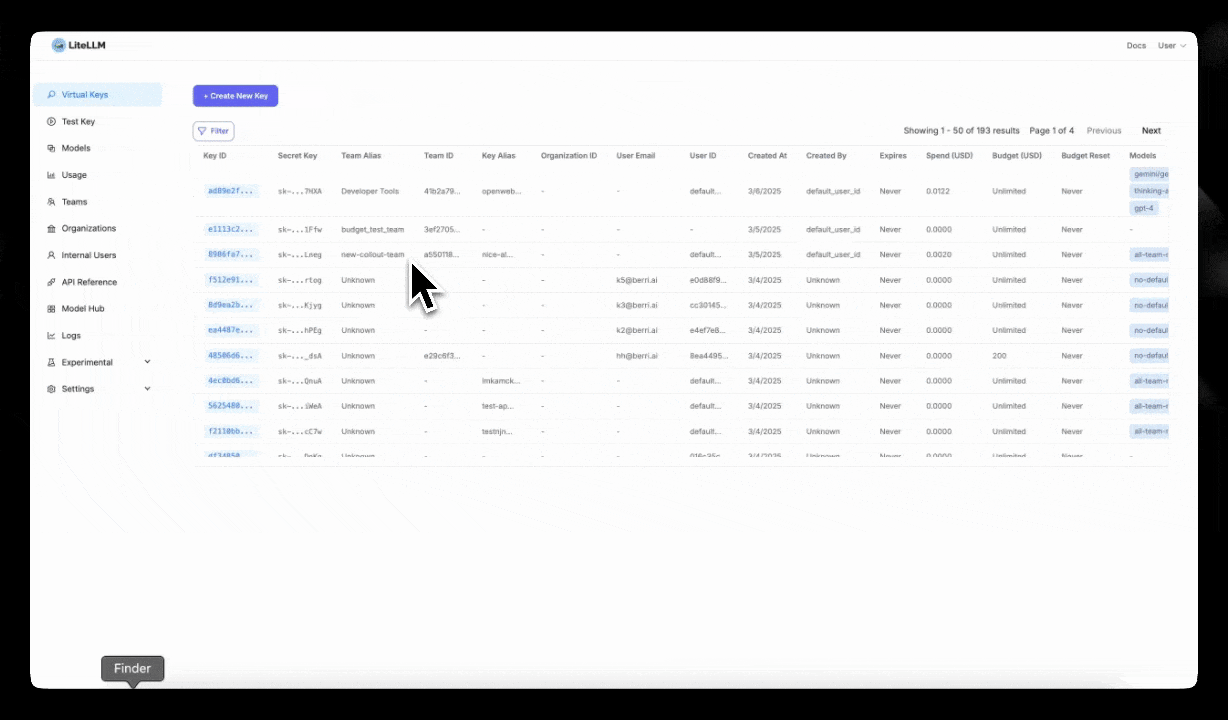
2. Create a Virtual Key on LiteLLM
Navigate to http://localhost:4000/ui and create a new virtual Key.
LiteLLM allows you to specify what models are available on OpenWeb UI (by specifying the models the key will have access to).
3. Connect OpenWeb UI to LiteLLM
On OpenWeb UI, navigate to Settings -> Connections and create a new connection to LiteLLM
Enter the following details:
- URL:
http://localhost:4000(your litellm proxy base url) - Key:
your-virtual-key(the key you created in the previous step)

4. Test it
On the top left corner, select models you should only see the models you gave the key access to in Step 2.
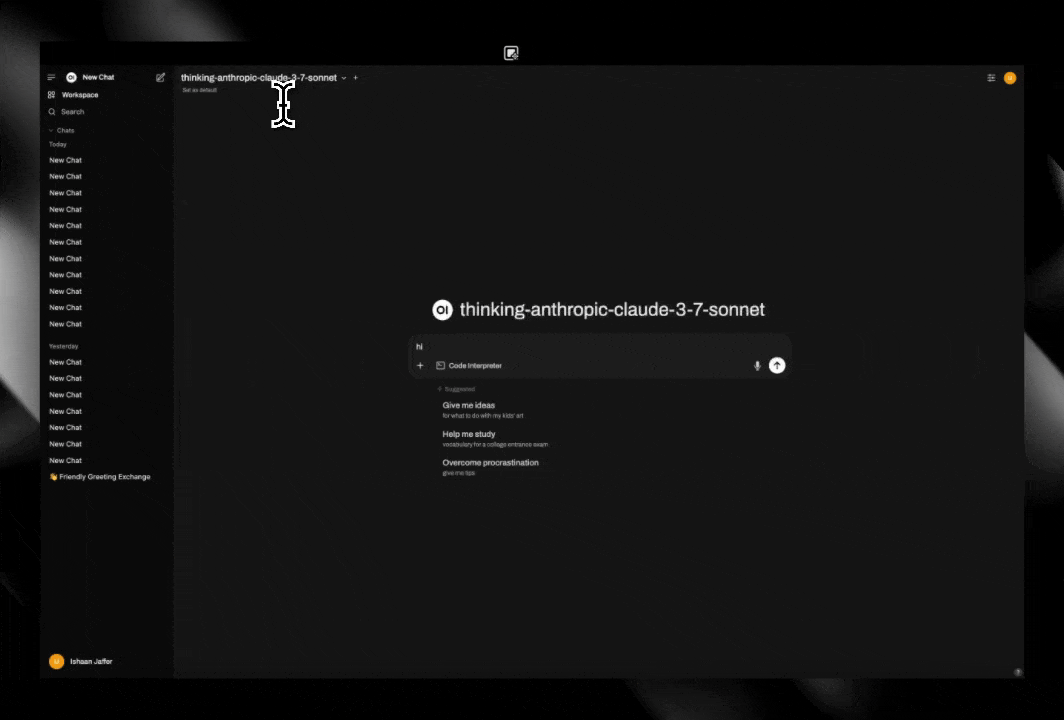
Once you selected a model, enter your message content and click on Submit
Render thinking content on OpenWeb UI
OpenWebUI requires reasoning/thinking content to be rendered with <think></think> tags. In order to render this for specific models, you can use the merge_reasoning_content_in_choices litellm parameter.
Example litellm config.yaml:
model_list:
  - model_name: thinking-anthropic-claude-3-7-sonnet
    litellm_params:
      model: bedrock/us.anthropic.claude-3-7-sonnet-20250219-v1:0
      thinking: {"type": "enabled", "budget_tokens": 1024}
      max_tokens: 1080
      merge_reasoning_content_in_choices: true
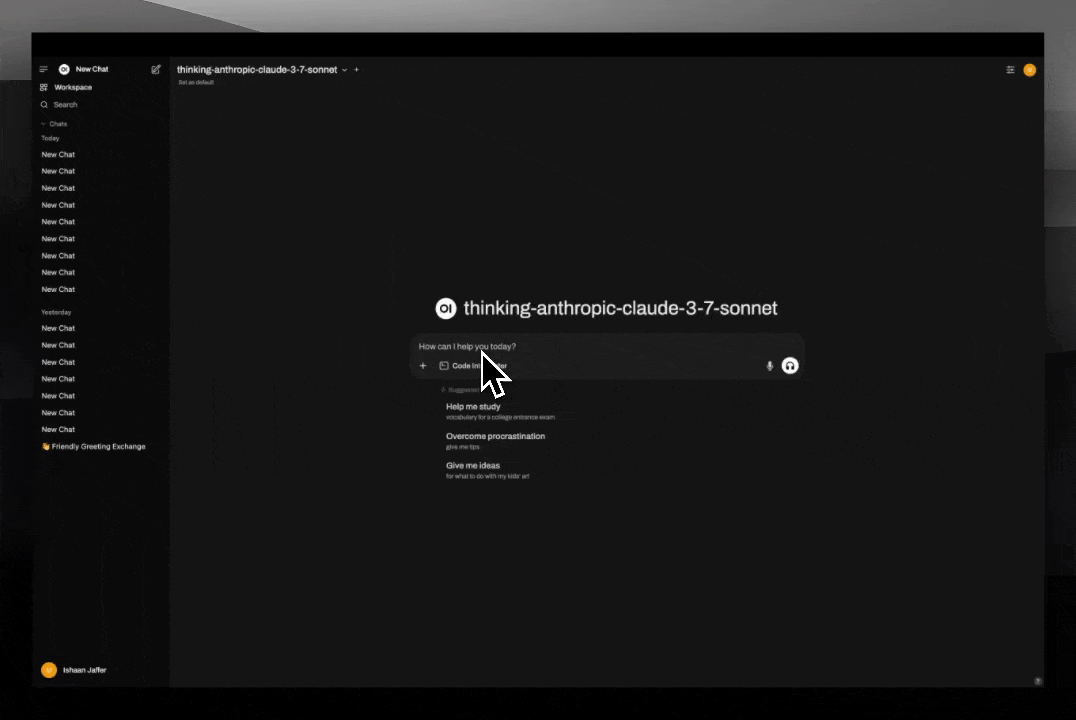
Test it on OpenWeb UI
On the models dropdown select thinking-anthropic-claude-3-7-sonnet